Quick skelo demo
Build a skeleton documentation quickly using skelo and a documentation outline file. View the documentation just as easily when you run Docusaurus development server.
Skeleton documentation in four steps#
Building a skeleton documentation is quite easy. You need a documentation outline written with easy-to follow Markdown notation. The outline indicates the sidebar name and its outline as bullet list. Top level items are major sections in the navigation bar, while indented bullet lists indicate topics in each section, or subsections, etc. A special item introduces headers inside a topic. We will cover these concepts in this quick demo.
Step 1: Create working folder and scaffold Docusaurus v2 project#
- Create
my-projectfolder andcdinto it. - Use
npxto scaffold a Docusaurus v2 project. It createswebsitedocumentation project using theclassicpreset.
More of npx-ing Docusaurus 2
Learn more about scaffolding a Docusaurus v2 project with npx at Docusaurus v2 Installation.
Step 2: Create documentation outline file#
Create my-project/website-outline.md and paste the following content:
Step 3: Use skelo to generate files#
In my-project, run skelo build:
caution
Wait, what? Where is the build sub-command? The answer is simple: build sub-command is skelo's default sub-command, so skelo will use build when no sub-command appears.
Skelo generated several files:
website/docs/*.md-- documentation source files in.mdformat, and front-matter compatible with Docusaurus v2.website-parts/**.*.md-- Markdown files containing document partial content.website/sidebars.js-- sidebars design file that Docusaurus v2 uses to build documentation navigation.
If you are familiar with Docusarus v2, you will feel the urge to look at website/sidebars.js:
Remember, you can get help on build sub-command: skelo help build.
Step 4: View skeleton documentation on development server#
- Edit
website/docusaurus.config.jsto configure documentation title andDocstop navigation item.
Replace:
With:
- Start server
Your browser opens at http://localhost:3000/. Click Docs to view documentation.

The Overview page contains Lorem ipsum text. It helps you get a sense how your documentation looks.
Custom topic title, topic headers#
Click Installation and see a custom topic title, two headers, and Lorem ipsum text as defined in my-project/website-outline.md:
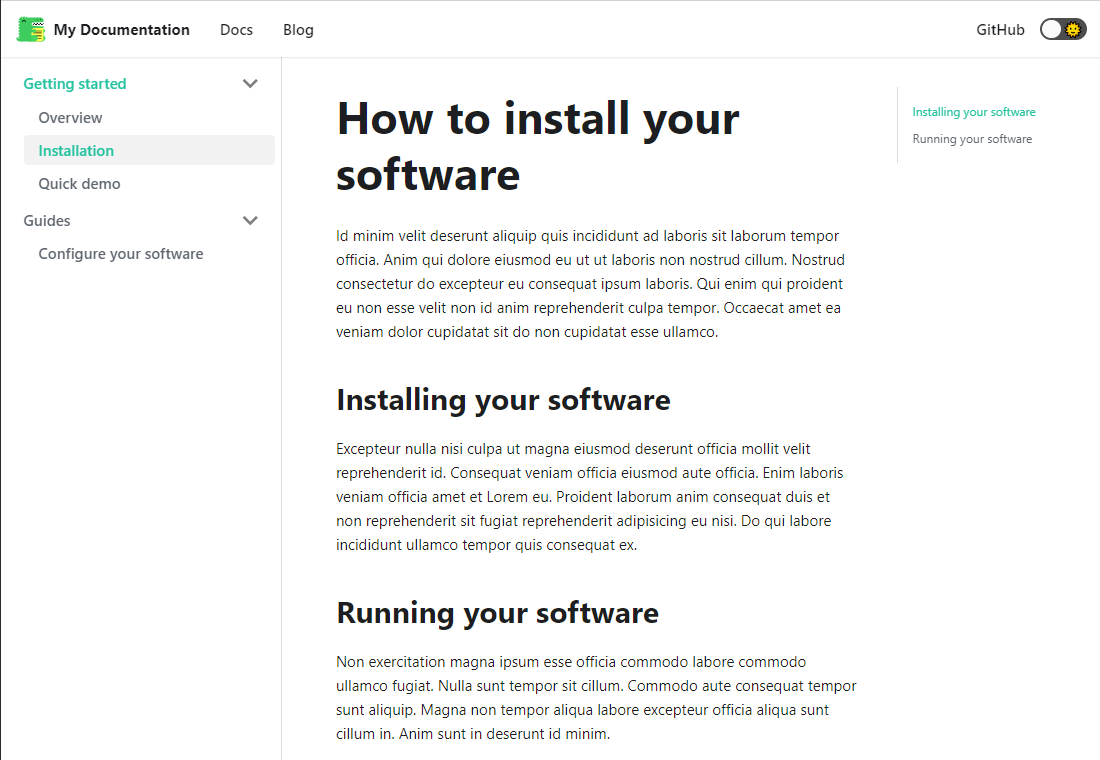
- @t following
Installationspecifies the title appearing on the outline's item documentation page. - @headers entry followed by two indented items indicate the headers to include in
Installationtopic. Lorem ipsumtext is generated automatically under title and each headers. However, there is way to include the brief description text for a topic or headers.